
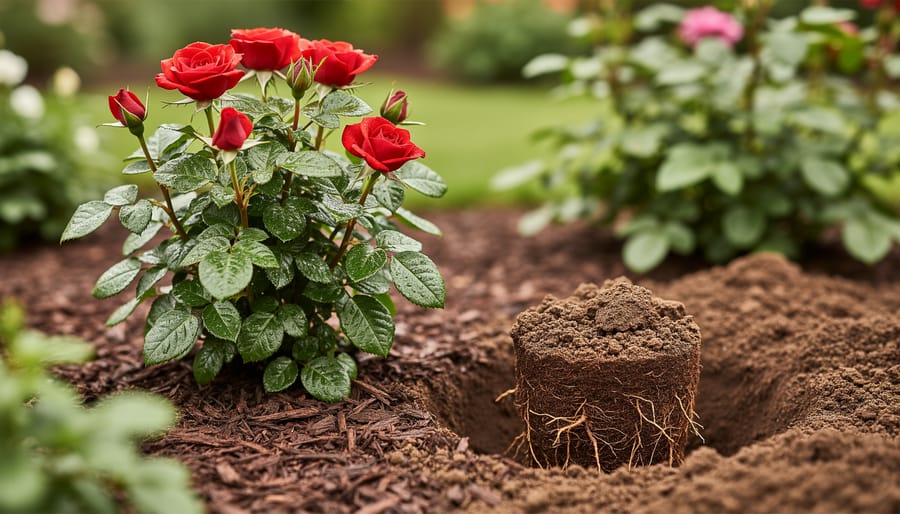
Planting miniature roses outside is a straightforward process that takes about 30 minutes per plant and transforms container-grown beauties into permanent garden residents. The key is timing your transplant after the last frost, preparing a sunny location with well-draining soil, and giving roots room to spread in a hole twice the width of the root ball. This transition works best when your miniature roses have established strong indoor growth (if you started them indoors, follow these care indoors first steps before moving them out) and outdoor temperatures stay consistently above 50°F.
Here in Newburyport, we see gardeners succeed with outdoor miniature roses when they choose locations receiving at least six hours of direct sunlight and amend heavy clay soil with compost. The compact size of miniature varieties makes them perfect for border plantings, walkway edges, and garden beds where full-size roses would overwhelm the space. Once established, these hardy plants reward you with months of blooms, and you can gather petals for sachets, homemade rose water, or pressed flower crafts throughout the growing season. The process requires no specialized skills, just attention to soil preparation and consistent watering during the first few weeks as roots adjust to their new home.
When to Transition Your Miniature Roses Outdoors
Timing your miniature rose transition correctly makes the difference between a thriving plant and one that struggles through its first outdoor season. The sweet spot for planting miniature roses outside falls in mid to late spring, after the last frost date has passed and soil temperatures have warmed to at least 50°F. Here in Newburyport and throughout New England, that typically means early to mid-May, though gardeners in coastal areas sometimes get a week or two head start compared to inland zones.
Established miniature roses in later growth stages handle this transition far better than young cuttings or recently rooted plants. A rose that’s been growing for at least two to three months, with a developed root system filling its current container and multiple sets of mature leaves, has the resilience to adapt to outdoor conditions. These plants can regulate water uptake, withstand temperature fluctuations, and recover from minor transplant stress.
Before planting day arrives, your roses need a proper hardening-off period of seven to ten days. Start by placing them outdoors in a sheltered spot for two hours, then gradually increase exposure time and sun intensity each day. This acclimates the plant to wind, direct sunlight, and temperature swings without shocking it. Skip this step, and even a hardy established rose may drop leaves or stall growth for weeks.
Regional climate variations matter. Southern gardeners might plant as early as March, while those in northern New England or high-elevation areas should wait until late May or early June. Watch soil temperature, not just air temperature, cold, waterlogged spring soil invites root rot regardless of how warm the afternoons feel.
What You’ll Need to Plant Miniature Roses Outside
Gathering the right supplies before you begin makes the planting process smoother and sets your miniature roses up for success. Here’s everything you need to have on hand:
- Garden spade or shovel for digging the planting hole
- Gardening gloves (leather or thick fabric to protect against thorns)
- Compost or aged manure (2-3 gallons per plant)
- Organic mulch like shredded bark or pine needles (enough for a 2-3 inch layer)
- Watering can or garden hose with gentle spray attachment
- Soil testing kit (optional but helpful for pH assessment)
- Hand trowel for fine work around roots
- Garden fork or cultivator to loosen compacted soil
- Wheelbarrow or bucket for mixing amendments
- Measuring tape to ensure proper spacing and depth
Quality matters with a few key items. Choose a spade with a sharp edge that cuts cleanly through soil and roots. Your gloves should be thick enough to handle thorny stems without compromising dexterity. For compost, look for well-aged material that crumbles easily and smells earthy, not sour or ammonia-like.
The soil testing kit isn’t essential, but it takes the guesswork out of pH adjustments. Miniature roses prefer slightly acidic soil between 6.0 and 6.5, and knowing your starting point helps you amend correctly. If you skip testing, high-quality compost generally improves most soil conditions without causing imbalances.
Important Safety and Preparation Considerations
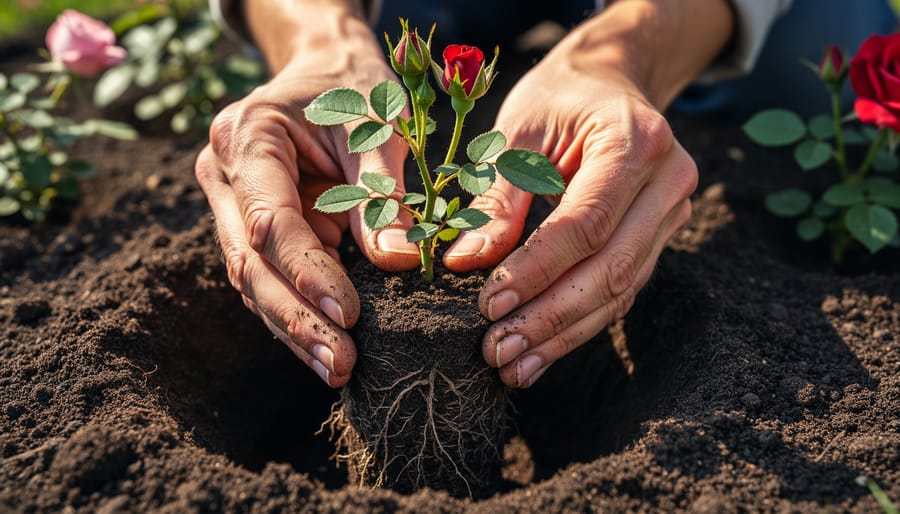
Before you start digging, take a few moments to protect yourself and set up for success. Roses have thorns that can puncture skin easily, so always wear thick, puncture-resistant gardening gloves and long sleeves to shield your arms from scratches.
If you’re planting in an unfamiliar area, call 811 or your local utility notification service a few days ahead to mark underground lines. Digging can be strenuous, especially in heavy clay soil, so pace yourself and use proper lifting techniques to avoid back strain. Apply sunscreen if you’ll be working in direct sun for more than 20 minutes.
Before your rose goes into the ground, inspect it thoroughly for signs of pests like aphids or spider mites, and check leaves for black spot or powdery mildew. Planting a diseased or infested rose outdoors can spread problems to your garden. Confirm that your miniature rose has been properly hardened off, gradually acclimated to outdoor conditions over 7-10 days, or it may suffer transplant shock. For more outdoor roses tips including seasonal preparation strategies, check your plant’s stem color and leaf firmness as indicators of readiness. When using soil amendments or fertilizers, follow package directions carefully and avoid skin contact with concentrated products.
Step-by-Step: Planting Your Miniature Roses Outdoors
Choosing the Perfect Outdoor Location
Your miniature rose needs full sun to produce abundant blooms and maintain healthy, compact growth. Look for a location that receives at least 6 hours of sun daily, ideally with morning light to dry dew from leaves and reduce disease risk. Afternoon shade in Newburyport’s hot summer months can be beneficial but isn’t required.
Check drainage by digging a test hole about 12 inches deep and filling it with water. If water remains after 24 hours, the site drains too slowly, miniature roses despise soggy roots. Raised beds or mounded planting areas work well in heavy clay soils.
Air circulation matters. Avoid tight corners, the base of walls, or spots crowded by other plants where humidity lingers and encourages fungal problems. Position your miniature rose where breezes can move through without constant battering wind.
Space plants 18 to 24 inches apart if planting multiples. This allows room for growth, makes maintenance easier, and ensures each plant gets adequate light and airflow. Test soil texture by squeezing a handful, it should crumble apart rather than form a sticky ball or feel sandy and loose.
Preparing the Planting Hole and Soil
Dig a hole roughly twice the width of your rose’s root ball and about as deep as the container height. This extra width gives roots room to spread into loosened, welcoming soil rather than hitting a compacted wall. Once you’ve removed the initial soil, use your spade or a garden fork to gently roughen the sides and bottom of the hole, this prevents glazing that can trap roots.
Mix the excavated soil with compost or well-aged organic matter at about a 1:1 ratio. Miniature roses thrive in slightly acidic to neutral soil (pH 6.0-7.0), so if you tested your soil and found it too alkaline, work in some sulfur or peat moss. If it’s heavy clay, add extra compost and consider a handful of perlite to improve drainage. Sandy soil benefits from organic matter that holds moisture without becoming waterlogged.
Before placing your plant, check drainage by filling the hole with water. If it hasn’t drained within an hour, you’re dealing with poor drainage, amend more aggressively or choose a raised bed. Place a few inches of your amended soil mix back into the hole to create a firm base that prevents settling.
Removing the Plant and Handling Roots
Gently tip the container on its side and slide the miniature rose out, supporting the base of the stem as you pull. If the plant resists, tap the container’s sides or run a knife around the inside edge, never yank the stem itself. Once free, examine the root ball closely. Healthy roots appear white or tan and feel firm. Dark, mushy roots signal rot and should be trimmed away with clean pruners.
Check for circling roots that wrap around the outside of the root ball. Use your fingers to gently tease these apart, working from bottom to top. For severely root-bound plants, make three or four shallow vertical cuts along the sides of the root ball with a clean knife. This encourages roots to grow outward rather than continuing their circular pattern. Avoid excessive root disturbance, your goal is to loosen compacted areas while keeping most of the root system intact.
Placing and Backfilling Your Rose
With your plant ready and the hole prepared, you’re at the crucial moment: getting the rose positioned correctly ensures healthy growth for years to come. Place the miniature rose in the center of the hole and check the depth. The bud union, the swollen knob where the rose variety was grafted onto rootstock, should sit at or slightly below soil level in most climates. In colder regions like Newburyport, set the bud union 2 to 4 inches below the surface to protect it from winter freeze-thaw cycles. Adjust the soil at the bottom of the hole if needed.
Once the depth is right, hold the plant steady and begin backfilling with your amended soil mix. Add a few inches at a time, gently firming the soil around the roots with your hands to eliminate air pockets that can dry out roots or cause settling. Don’t pack it down hard, you want good contact without compacting the soil. Fill to ground level, then shape a shallow ring of soil around the plant’s perimeter, about two inches high. This creates a watering basin that directs moisture to the root zone rather than letting it run off across the bed.
Initial Watering and Mulching
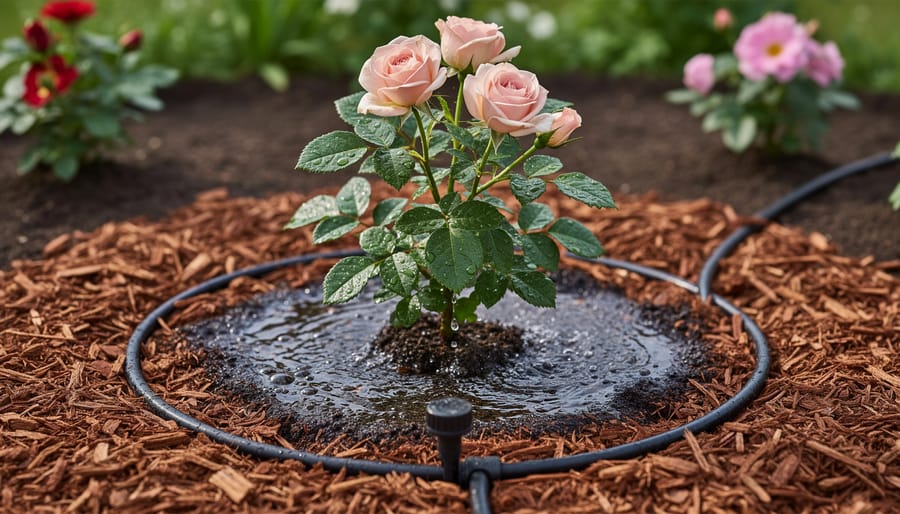
Water deeply immediately after planting, soaking the root zone until moisture reaches 12 inches down. Apply water slowly at the base to avoid washing away soil or creating runoff. This initial watering settles the backfill, eliminates air pockets around roots, and ensures thorough hydration.
Once watered, spread a 2-3 inch layer of organic mulch around the plant, keeping it 2-3 inches away from the stem. Shredded bark, wood chips, or compost work well for miniature roses. Mulch conserves moisture, moderates soil temperature swings, and suppresses competing weeds during establishment.
How to Tell Your Roses Have Adjusted Successfully
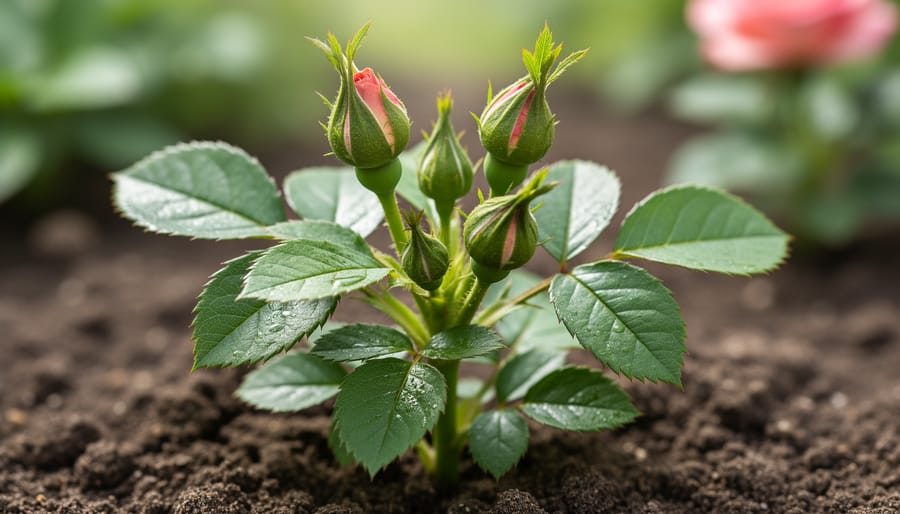
Within the first week after planting, your miniature rose will begin showing you whether it’s settling in happily or needs intervention. Healthy adjustment starts with the plant maintaining its existing foliage without significant wilting, a little droop in the first day or two is normal, but leaves should perk up once roots access moisture. By week two, watch for these positive signs:
- New leaf growth emerging from the tips of stems, showing vibrant green color
- Existing leaves maintaining rich color without yellowing or browning edges
- Flower buds beginning to form or existing buds continuing to develop
- Stems appearing firm and upright, not limp or discolored
- Soil staying evenly moist but not waterlogged between waterings
Normal transplant adjustment can include a few lower leaves yellowing and dropping as the plant redirects energy to new root growth, that’s fine. However, widespread leaf drop, blackened stems, or a complete halt in growth signals real trouble, often from overwatering, underwatering, or root damage during planting. By week three to four, you should see clear forward momentum: new leaves unfurling, buds opening, and the plant responding to your rose garden care routine with visible vigor. Most miniature roses achieve full establishment within six to eight weeks, developing enough new root growth to support robust blooming and resilience against weather fluctuations.
Next Steps: Ongoing Care After Planting
Your newly planted miniature roses need consistent attention during their first month outdoors. Water deeply every two to three days for the first three weeks, adjusting based on rainfall and temperature. Once you notice new leaf growth and firm stems, transition to weekly watering sessions that soak the soil 8-10 inches deep rather than frequent shallow drinks.
Begin fertilizing four weeks after planting with a balanced rose fertilizer, following package directions. Apply monthly through late summer, stopping six weeks before your area’s first expected frost date. This timing helps roses harden off properly for winter in regions like Newburyport where temperatures drop significantly.
Deadhead spent blooms regularly by cutting just above the first five-leaflet leaf. This encourages continuous flowering and prevents energy waste on seed production. Save the petals from your healthiest blooms for creative projects like potpourri, rose water, or natural dyes, a wonderful way to extend your enjoyment beyond the garden. Check weekly for common pests like aphids or Japanese beetles, removing them by hand or with targeted organic sprays when populations warrant intervention.
As you learn each variety’s growth patterns and bloom cycles, you may want to explore miniature rose names to better understand their heritage and characteristics. Apply fresh mulch each spring and prune in early spring before new growth emerges. Expect modest blooming the first season as roots establish, with fuller performance in year two and beyond.
Common Questions About Planting Miniature Roses Outside
Can potted miniature roses go outside permanently?
Yes, potted miniature roses can transition to permanent outdoor garden beds, and they’ll often develop stronger root systems and better overall vigor than they had indoors. Just make sure they’ve been hardened off first and that you’re planting after your last frost date.
How deep should I plant my miniature roses?
Plant so the bud union (the knobby graft point where stems meet roots) sits at or just slightly below soil level in mild climates, or one to two inches below in colder regions like Newburyport. The crown of the plant should never be buried deep, it needs air circulation to prevent rot.
What if my rose was grown indoors, can it still go outside?
Absolutely, but you’ll need to harden it off gradually over seven to ten days before planting. Indoor roses haven’t experienced wind, temperature swings, or direct sun, so a slow transition prevents shock and leaf scorch.
Can I plant miniature roses in containers outdoors instead of in the ground?
Container planting works well outdoors and gives you flexibility with placement and winter protection. Choose pots at least 12 inches deep with drainage holes, use quality potting mix, and plan to water more frequently than in-ground roses since containers dry out faster.
These questions come up again and again because outdoor planting feels like a big commitment. The good news? Miniature roses are tougher than most people expect. Once they’ve adjusted to their new spot, they’ll reward you with blooms and foliage that indoor conditions simply can’t match.